
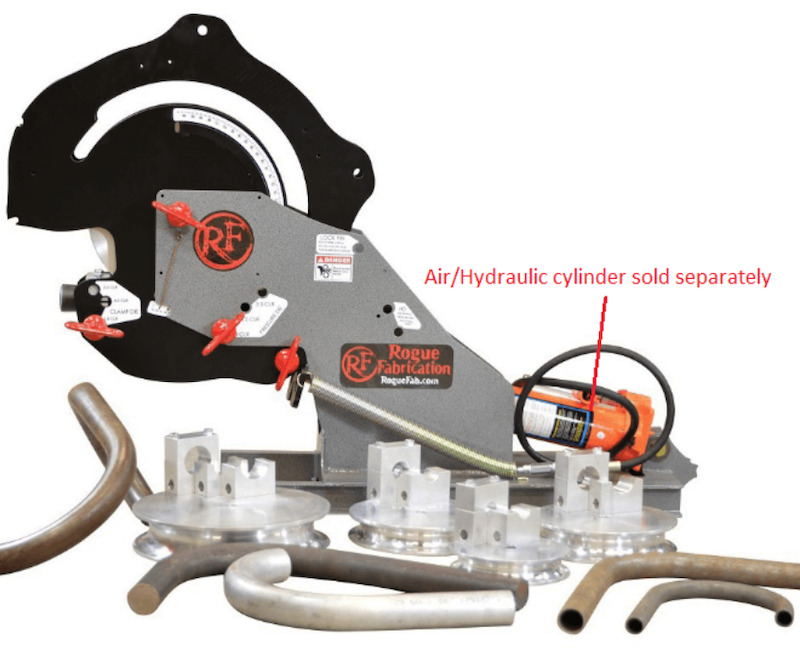
Tubing benders are quite simple, and also a rather convenient tool that can provide consistent and accurate bends on a wide range of tubes, including steel tubes, copper tubes, and aluminum-based tubes.
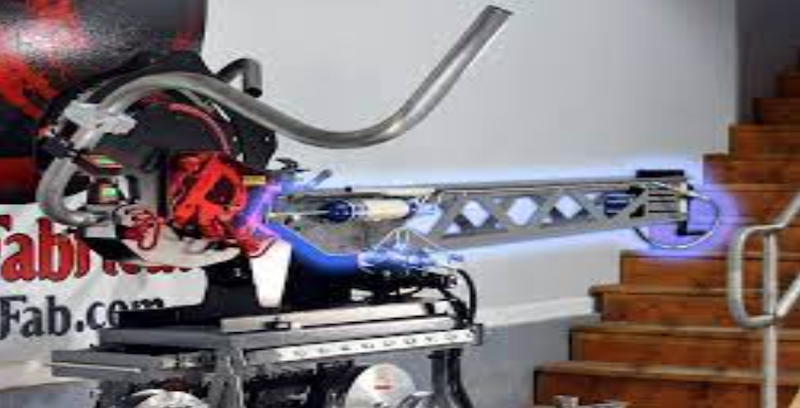
There are many automated tube benders that can be electrically or hydraulically powered, as well. However, these machines are often bulky and may not be suitable for use in areas that do not have the appropriate power connections.
Manual tube and pipe benders are a good option in these cases, though. The majority of manual tubing benders can bend pipes and tubes up to 180 degrees at most.
In just a few and rather very simple steps, you can learn to use a tubing bender, almost as a professional worker.
Step 1: Choose an Appropriate Tubing Bender for your situation
Manual tubing benders have a certain limit on the size of the pipe or tube that they can bend. Limitations can vary depending on the tube material, thickness, and cross-section, accordingly.
Make sure you have the right tool for the job that you might have in front of you before you buy a bender.
Step 2: Set up Your Tubing Bender
You have to have in your mind that your bending tool is adjustable for many situations. It will be adjusted based on the radius you want in the tube and also the number of degrees needed to bend it.
To achieve these particular desired results, you may need to perform pretty precise adjustment calculations based on the radius that you want to achieve.
The distance around a sharp bend is always much greater than the distance along the radius bend. Common bend adjustment charts can be used to calculate your results in a more punctual way.
A second aspect, which you may want to consider carefully is whether or not you will use a vise. A vise is absolutely and immensely required for most manual tube benders.
This will be necessary if you plan to bend tubes with thick walls, though. A vise is recommended for tube benders that are not very well adjusted to the various situations of the work
3: Mark Bend Directions and Reference Points
As you could expect you may have to make multiple bends on one tube. To help yourself remember easier, you should mark your tube with a quite visible well-colored line along the length of your tube. The line should be drawn in the opposite direction to the desired bend direction.
Considering carefully and properly measuring marks on the tube will help you get the desired results and allow you to track your progress, which is a very important step in learning how to use these tools with greater skill.

4: Align and Insert the Tube into the Bender
To insert the tube into your bending die, you will need to swing one of the two bending arms up. Make sure to keep your reference marks clearly visible at all times(this is very important).
You can usually lower the second arm using a latch mechanism to keep the tube in place and allow for minor adjustments.
5: Begin the Bending Process
Start the bending process by gripping the roll support arm tightly and then lowering it until the desired degree mark on the bending die is reached. Most pipes and tubes have some amount of spring back when bent.
Copper pipes have a lower spring back than steel pipes. You must compensate for the loss of spring back.
6: Disengage the Tube from the Bender
To unlatch the tube from its die, lift the roll support arm and pull it out.
For more useful information about bender equipment, you may refer to RogueFab at any time.
