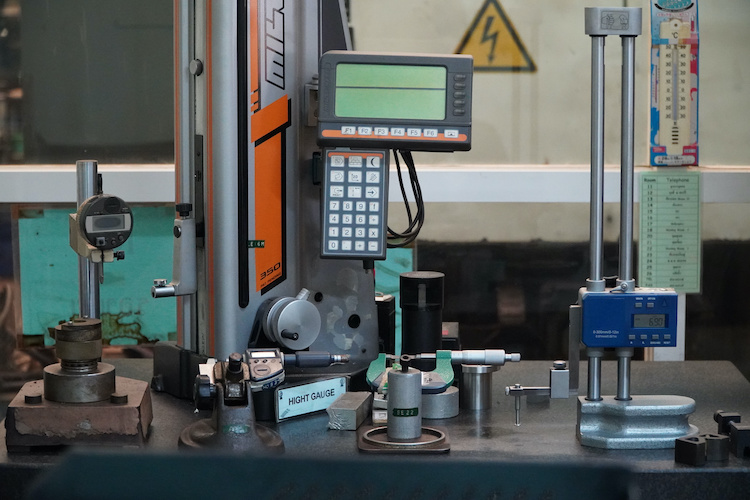
Height gauges can be used to determine an object or workpiece’s height with extremely high accuracy and precision.
These precision measuring instruments also provide marked locations on an item relative to one reference plane for subsequent use.
Center-line distances, internal/external diameters, and step heights are some of the different measuring tasks that can be carried out by high-specification digital height gauges.
They claim consistency of ±0.0001 inch and can be extremely precise up to 0.001 inch. Of course, the consistency and precision of such instruments still depend on their overall quality, so it’s essential only to source one from websites of reliable manufacturers, such as eleymet.com.
Read on to learn more about a digital height gauge.

What’s In A Digital Height Gauge?
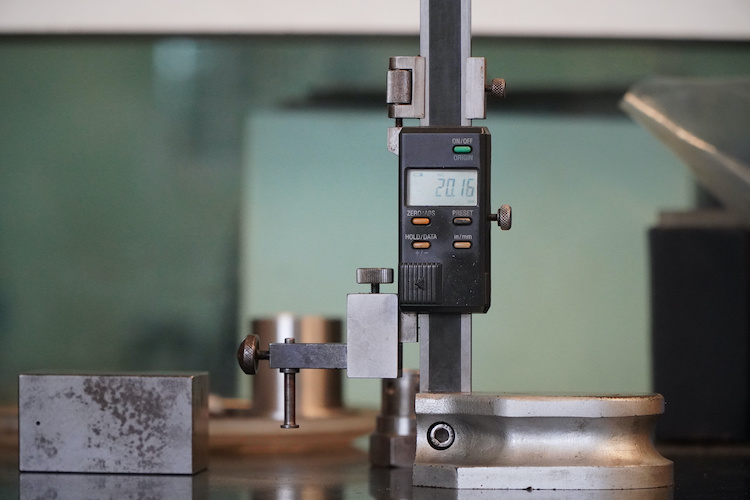
High-quality, hardened stainless steel is what makes the body of a digital height gauge. To ensure the instrument’s rigidity and stability, a digital height gauge comprises a solid cast iron base.
It also has a beam that extends from the base up, and includes a printed scale in metric and imperial format.
The metric scale usually ranges from zero to 300 millimeters, while the imperial scales range from zero to 12 inches. In some digital height gauges, metric and digital scales can even measure up to 2000 mm or 80 in.
The beam also has an electronic measuring slider, which comes with the Power ON/OFF, HOLD, TOL, SET, MM/INCH, ON/OFF/ZERO, and ABS buttons.
On one of the jaws, the slider also comes with a carbide scriber tip. Along the scale, the attached scriber, together with the slider, can slide up and down and be locked in place.
To be locked in place with the help of a second locking screw, a fine-tune wheel is used to make the final adjustment. Sending data to a printer or computer via a special cable is also possible through a data output port.
Uses Of A Digital Height Gauge
Electronic height gauges can perform several measurement types. They’re usually used in quality control applications of the manufacturing industry for the following tasks:
- measuring the perpendicularity or squareness/straightness of parts;
- angle measurement;
- measuring flatness;
- verification of center-to-center dimensions;
- performing 2D measurements of part features;
- scribing features from a datum place or a certain part with accurate vertical dimensions to make additional machining possible; and
- verifying that specifications and tolerances are met by measuring the distance from a reference surface going to a part’s specific feature.
Preparing A Digital Height Gauge
The process of using a digital height gauge to take measurements is highlighted below:
The first step is making sure that the surface on which the instrument is to be set up is free from dirt and smooth.
Of course, cleaning the work area is a must, just like using any other equipment:
- Dry the height gauge’s surface after cleaning it.
- Clean the measuring jaw before attaching it to the instrument.
- Make the slider on the scale free from moving by loosening the locking screws. Then, check if the display registers change in height by moving the slider up and down.
- Finally, make sure that the surface of the object to be measured is clean and dry.
How To Take The Measurements
The actual measuring process can be started once the cleaning and preparation are done. Here are the steps to do it correctly:
The surface of working the platform usually becomes the point of measurement. Make the platform surface and the measuring jaw gently touch with a measuring force of about three to five Newton. Also, make sure that the LCD shows a value of zero. To make it zero, press the ON/OFF/ZERO button.
Adjust the movable jaw to its nearest inch or centimeter by holding the rod against the surface plate.
Check the large LCD screen to get the reading.
Taking Caution When Using The Digital Height Gauge
Lift the base using a block when measuring an object that’s beyond the height gauge’s range. That way, the surface of the object or block becomes the starting point, and the platform surface becomes the zero point.
Preset the block’s height if it’s the starting point (a more accurate measurement is needed to measure the height).
Preset the height of the surface when the measured object’s surface is the starting point.
Final Notes
After the measurement, take off the jaws so that they can be cleaned and dried with a cloth that’s soaked with cleaning oil. You can use a clean, dry cloth before storing the instrument in the fit case.
During storage or while in use, it’s important to maintain the temperature between five to 40 degrees Celsius. The protective sticker shouldn’t be in contact with any hydrous liquid.
Finally, prevent damage to the electronics, such as an electrical circuit overload, by never applying voltage or engraving with an electric pen any part of the depth gauge.

