
Thinking of taking up 3D printing for yourself? Follow this guide to 3D printing or beginners.
Ever since 3D printing emerged in the 1980s, it has revolutionized our society. Businesses use it for a variety of reasons, from creating replacement parts to entirely new products. However, many consumers are now turning to 3D printing as a hobby or side hustle.
Thankfully, the 3D printing process is actually pretty simple once you understand it. If you are considering 3D printing for personal or business use, follow this guide to 3D printing for beginners.
What is 3D Printing?
In simple terms, 3D printing uses a process known as additive manufacturing. It allows people to create complex parts and objects layer by layer using a 3D modeling software program. 3D printing allows anyone, including companies and consumers, to create anything at a fraction of the cost and time it would normally take.
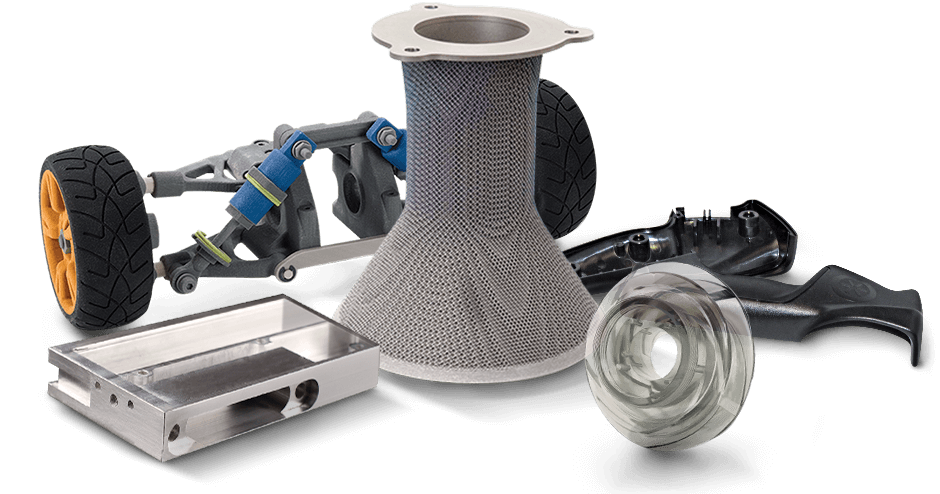
Some of the objects that can be created are toys, prosthetic limbs, plane parts, and more. Let your imagination run wild!
When Was 3D Printing Invented?
The concept of 3D printing emerged during the 1980s. In the early 1980s, the technology was referred to as “Radio Prototyping”. Then in 1984, Charles Hull applied for a patent for his technology known as stereolithography.
The technology allowed for the curing of photosensitive resin layer by layer creating an object or part. He received the patent in 1986, and established his company 3D Systems. In 1987, the company released their first product, the SLA-1. Hull launched 3D printing into the technology industry, and his company is now one of the largest 3D printing companies.
How Does 3D Printing Work?
3D printing all starts with creating or downloading a digital model. The model can be created using a 3D scanner, modeling software, or app.
Once the model is complete, slicing software is used to divide the model into thousands of horizontal layers.
After this, you upload the digital STL or VRML file to the printer. The 3D printer takes care of the rest by creating the object. Depending on what is being created, the process can take hours to days.
What Materials Are Needed For 3D Printing?
Modeling Software
To create a digital 3D file, you will need modeling software. There are many different options available varying in price and usability. For beginners, Tinkercad and FreeCAD are recommended.
3D Scanner App
If you don’t want to create your own model, you may opt for a 3D scanning app. These apps enable users to create 3D models of any object. For example, a vase or cup that you really like. However, the models created usually require some editing before sending them to be printed. The best 3D scanner apps to try are Trnio, Qlone, and Scandy Pro.
Splicing Software
This software creates thin horizontal layers of a digital 3D model. This is necessary to properly render and print a 3D object. For beginners, Cura, 3D Printer OS, and KISSlicer are great options.
3D Printer
The 3D printer you decide to get depends on what you plan to use it for. Is it for business or personal use? What is your budget for the machine and other printing material? Do you want to create colored objects? These are the questions that need answering before making your final decision.
Steps to Doing 3D Printing Yourself
Step 1: Determine Your Budget and Goals
Prior to jumping right into getting modeling software, splicing software, and a printer, you need to determine your budget and goals. These two aspects greatly influence your 3D printing purchasing decisions. Are you looking for a budget-friendly printer just to use at home or a high-end printer for business use?
Step 2: Purchase Your 3D Printing Tools and Materials
Next, you will want to purchase the 3D modeling software or scanner app, slicing software, and 3D printer you desire. When looking into these items, you should consider the printing speed, print quality, price, features, and more.
Step 3: Create Your 3D Model
Now that you have all of the materials, you can start creating your 3D model. Using the software or app you purchase, construct the model including all of the details and colors desired. What you are able to accomplish will depend on the software or app you are using.
Step 4: Slice Your Digital Model
Using your slicing software, you can create the layers needed to provide a great 3D printed replica of your model. Doing this will help the 3D printer cover every detail of the model without skipping a beat.
Step 5: Upload Your STL or VRML File To Your 3D Printer
Once the model is complete, you will need to export and upload the file based on your printer’s parameters. Typically, 3D printers use and require a STL (Standard Triangle Language) or VRML (Virtual Reality Modeling Language) file.
Step 6: Prepare Your Printer
Some printer preparation is usually needed prior to printing your masterpiece. Not every machine is the same, and requires different materials and set-up processes.
Step 7: Start Printing!
With the 3D digital file uploaded and printer ready to go, you can now print your creation! The time it takes for it to print depends on the size of it, the item details, and the type of 3D printer you have.
Step 8: Post-Processing (if Necessary)
Depending on your printer and creation, you may need to do some post processing steps. This may include brushing off leftover dust, treating the object, and/or painting the object.
That’s the entire 3D printing process. When starting out, create simple objects and work your way up to ones that are more complex. Once you get the hang of things, 3D printing will be a breeze.
About the Author: Holly Zink is a technology writer for Digital Addicts. She stays up-to-date with the latest technologies and trending topics. She is also knowledgeable about a variety of topics from robotics to online security.
