
How to 3D Print Custom Inline Skates
3D printing is also referred to as additive manufacturing. It is the process of creating 3 dimensional (3D) objects that are solid.
The solid objects are printed from a digital file by way of additive processes where thin layers of material are added in succession.
Many objects can be printed, including 3 wheel inline skates. The following instructions will explain how to do so.
You first need to understand that custom inline skates be made to fit your feet perfectly.
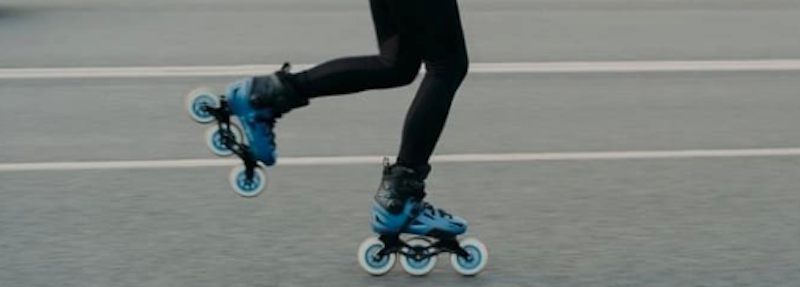
Additionally, they are more lightweight than the usual rollerblades that you buy at the store. This means that you can go faster and have more mobility. The 3D printed are also quite durable.
To complete this project, you would need to have access to a 3D printer and general CAD knowledge. These instructions include references to Autodesk Inventor 2013.
You will also need these tools:
- Crescent Wrench
- Screwdriver
Along with these non 3D printed parts:
- 6 3mm or 1/8 inch bolts and associated nuts (approximately 1 ‘’ long)
- 6 8mm or 5/16inch diameter bolts and associated nuts (2.5 to 3 ‘’ long)
- 12 Standard rollerblade bearings (you will probably get them along with the wheels)
- 6 Rollerblade wheels (8 centimeters in diameter or less will do)
- A styrofoam or foam padding.
- Some washers or spacers
- 2 Shoelaces
The bottom area of the rollerblade is the most important because this is where you need to place the axles, wheels, bearings and spacers so that it can roll.
It will be the same size for everyone. You need a good boot heel for proper control, but the tongue is not absolutely necessary.
- For the custom boot, you need a paper and something with which to write and then trace the outline of your foot. Angle the pen outward so that the drawing will be a bit larger.
- Also, if you can, try to put pressure on the foot while tracing, so it traces the shape of your foot while you are standing.
- You will now use this drawing and create a sketch of three circles on your foot outline for the heel, ball and middle of the foot.
- You then need to measure each circle’s diameter and draw a line between the centers of the circles from heel to tip and then measure the distance.
- Now that you have finished sketching, you should now open CAD and make a new drawing of these circles as well as the lines that space them out.
- Then connect the circles by using the curve tool to draw lines that follow your foot shape and connect the circles together with a curve at the toes.
- After this, click “Finish Sketch” and then the “Extrude” tool. Then choose the sketch that you just completed ensuring that it is selected in its entirety.
- Now go to the “Distance” box and then enter 0.2 before you click “OK” This will give you a custom footplate. You can feel free to make it more specific if you would like.
- This is where you need to create a new sketch but this time for the top of the foot plate and repeat the same drawing you did for the footplate with the three circles and curves that are 0.3 inches less in diameter.
- When the sketch is done, extrude the thin part from outside the sketch and the footplate out line. You can allow it to be whatever height you desire.
- Cut holes for your shoe lace by finding a plane that cuts the shoe in a lengthwise manner, so it is symmetrical. It must be far enough away to not intersect the boot.
- Now create a new sketch for this plane, drawing circles for the laces.
- The bottom area of the rollerblade must now be mounted to the boot and hole need to be added for the mount.
- Cut some material for the footplate, so the prints will require less time and also save on plastic. Then draw some closed shape extruding them in the same way.
- Print the boot.
- You need to add the boot parts to the bottom area and get the smaller nuts and bolts. Look for the mounting holes of the boot with the bottom of your skate. Place the bolts through the holes, securing them with the nuts (head facing the side).
- Attach the bearings, wheels and spacers with the crescent wrench. Do a final check, lace up your shoes, and you are rolling!
